安装前的系统配置
安装 Hyprland
直接通过 pacman 安装 Hyprland:
1
| sudo pacman -S hyprland
|
安装完成之后,顶部会显示配置文件是自动生成的提示,把配置文件 ~/.confi/hypr/hyprlnd.conf 中 autogenerated 的那一行删掉就可以。
一些基本配置
设置 mod 键
默认的 mod 键为 SUPER(windows键),我将它修改为 ALT 键。
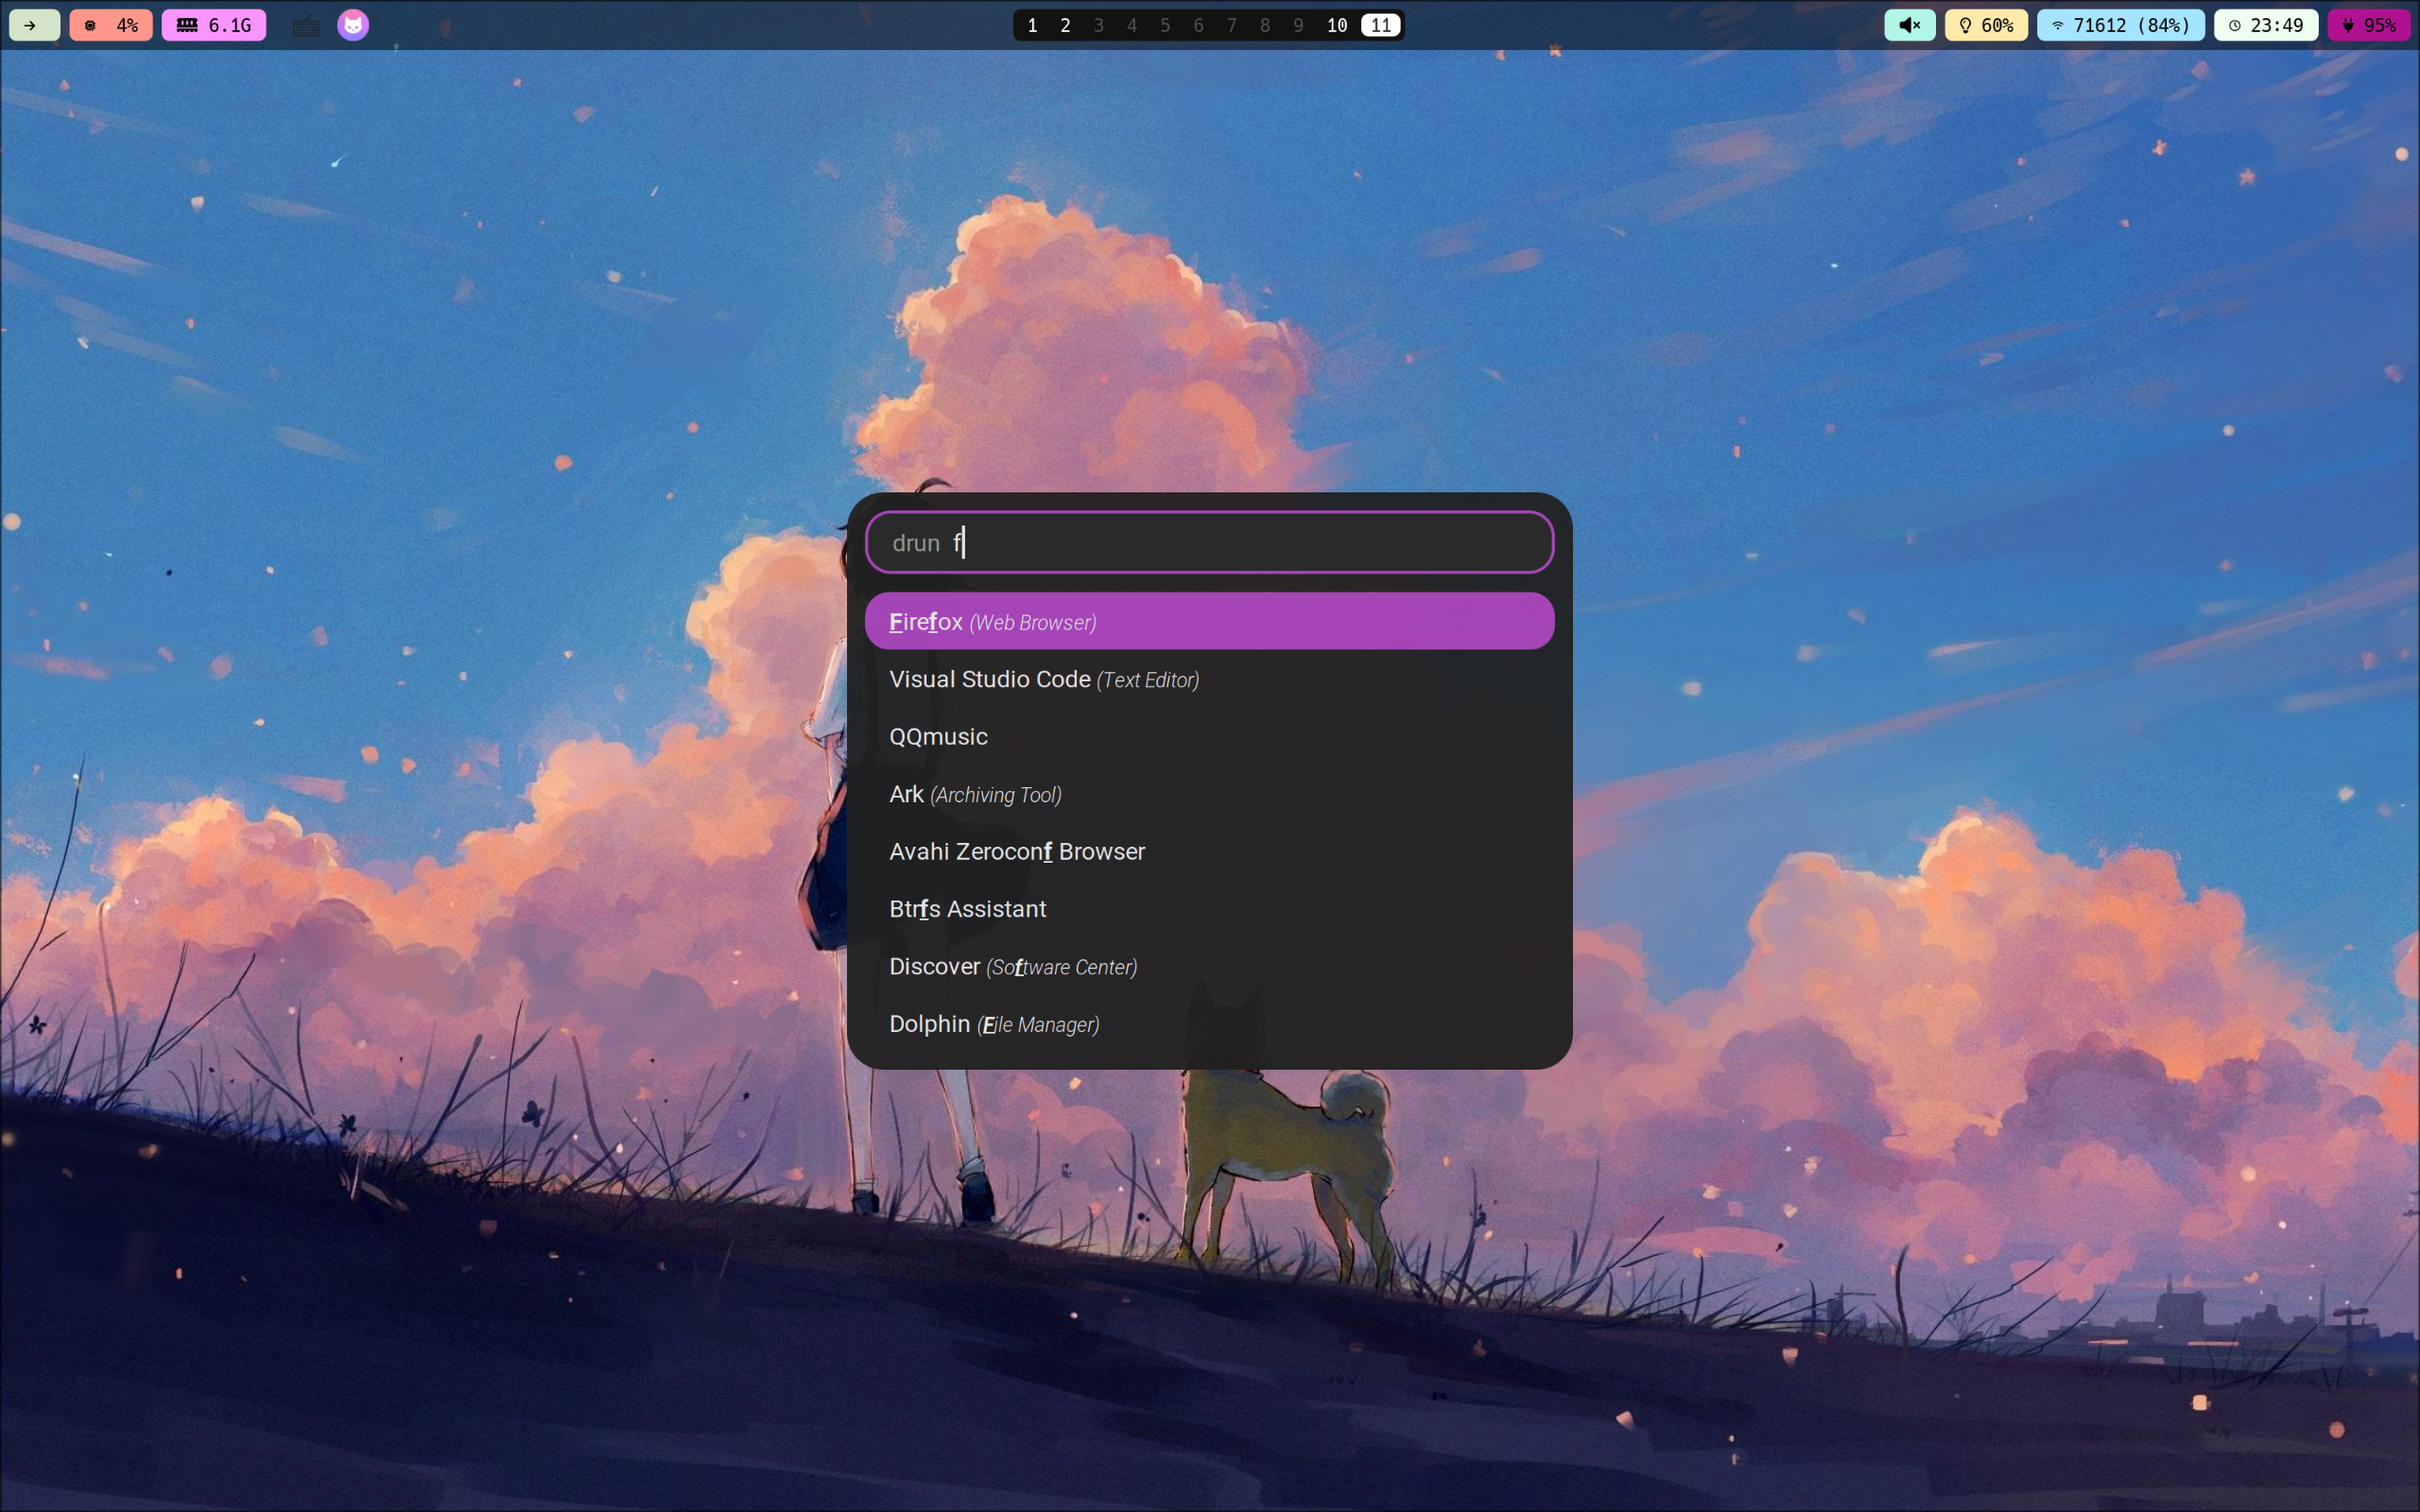
应用程序启动器
使用 rofi 应用程序启动器:
1
| sudo pacman -S rofi-wayland
|
修改配置文件:
1
| $menu = rofi -show drun
|
可以使用 rofi-theme-selector 选择主题,在配置文件 ~/.config/rofi/config.rasi 中添加以下内容可以显示图标:
1
2
3
| configuration {
show-icons: true;
}
|
状态栏
使用 waybar 状态栏:
修改配置文件:
配置 waybar 外观:配置文件
壁纸
使用 hyprpaper 配置壁纸:
1
| sudo pacman -S hyprpaper
|
编写 hyprpaper 配置文件~/.config/hypr/hyprpaper.conf:
1
2
| preload = /home/shaoran/Pictures/wallpaper/19.jpg
wallpaper = , /home/shaoran/Pictures/wallpaper/19.jpg
|
输入法
我已经在系统中安装和配置好了 Fcitx5 输入法(fcitx5-rime + 雾凇拼音),所以直接配置 Hyprland 自动启动 Fcitx5 就可以。
在配置文件中添加:
1
| exec-once=fcitx5 --replace -d
|
缩放
缩放比例不等于1时,如 Chrome,VSCode 等 xwayland 上的软件会出现模糊的情况,暂时的解决方案是对 xwayland 强制禁用缩放:
1
2
3
| xwayland {
force_zero_scaling = true
}
|
然后对 xwayland 单独设置缩放:
1
| exec-once = echo 'Xft.dpi:144' | xrdb -merge
|
触控板
启用自然滚动和通过触控板手势切换工作区:
 1
 2
 3
 4
 5
 6
 7
 8
 9
10
11
12
13
14
15
16
17
18
19
20
21
22
| # https://wiki.hyprland.org/Configuring/Variables/#input
input {
kb_layout = us
kb_variant =
kb_model =
kb_options =
kb_rules =
follow_mouse = 1
sensitivity = 0 # -1.0 - 1.0, 0 means no modification.
touchpad {
natural_scroll = true
}
}
# https://wiki.hyprland.org/Configuring/Variables/#gestures
gestures {
workspace_swipe = true
workspace_swipe_distance = 200
}
|
亮度调节
安装 brightnessctl 软件包后默认配置即可通过亮度调节按钮进行调节。
1
| sudo pacman -S brightnessctl
|
通知
安装 mako 用来显示通知:
安装 toastify 用来从命令行发送通知:
1
| sudo pacman -S toastify
|
对于当程序需要提升到 root 权限,所弹出输入密码窗口的服务,可以使用 KDE 的 polkit-kde-agent。由于我的电脑上已经安装了 KDE,所以直接启动相关服务即可。
在配置文件中添加:
1
| exec-once = systemctl --user start plasma-polkit-agent
|
截图
安装 grim slurp 软件包:
1
| sudo pacman -S grim slurp
|
在配置文件中添加:
1
2
3
| $screenshot = grim -g "$(slurp)"
bind = $mainMod , Print, exec, $screenshot
bind = $mainMod Shift, P, exec, $screenshot
|
选择截图之后,截图会存储在 ~/Pictures/
XDG Desktop Portal
安装 XDG Desktop Portal 和 File Picker:
1
| sudo pacman -S xdg-desktop-portal-hyprland xdg-desktop-portal-gtk
|
键位配置
添加 vim-like 键位
1
2
3
4
| bind = $mainMod, l, movefocus, l
bind = $mainMod, h, movefocus, r
bind = $mainMod, k, movefocus, u
bind = $mainMod, j, movefocus, d
|
配置切换前一个和后一个工作区的键位
1
2
3
4
| bind = $mainMod Ctrl, H, workspace, e-1
bind = $mainMod Ctrl, L, workspace, e+1
bind = $mainMod Ctrl, left, workspace, e-1
bind = $mainMod Ctrl, right, workspace, e+1
|
配置移动当前窗口到前一个和后一个工作区的键位
1
2
3
4
| bind = $mainMod Shift, H, movetoworkspace, -1
bind = $mainMod Shift, L, movetoworkspace, +1
bind = $mainMod Shift, left, movetoworkspace, -1
bind = $mainMod Shift, right, movetoworkspace, +1
|
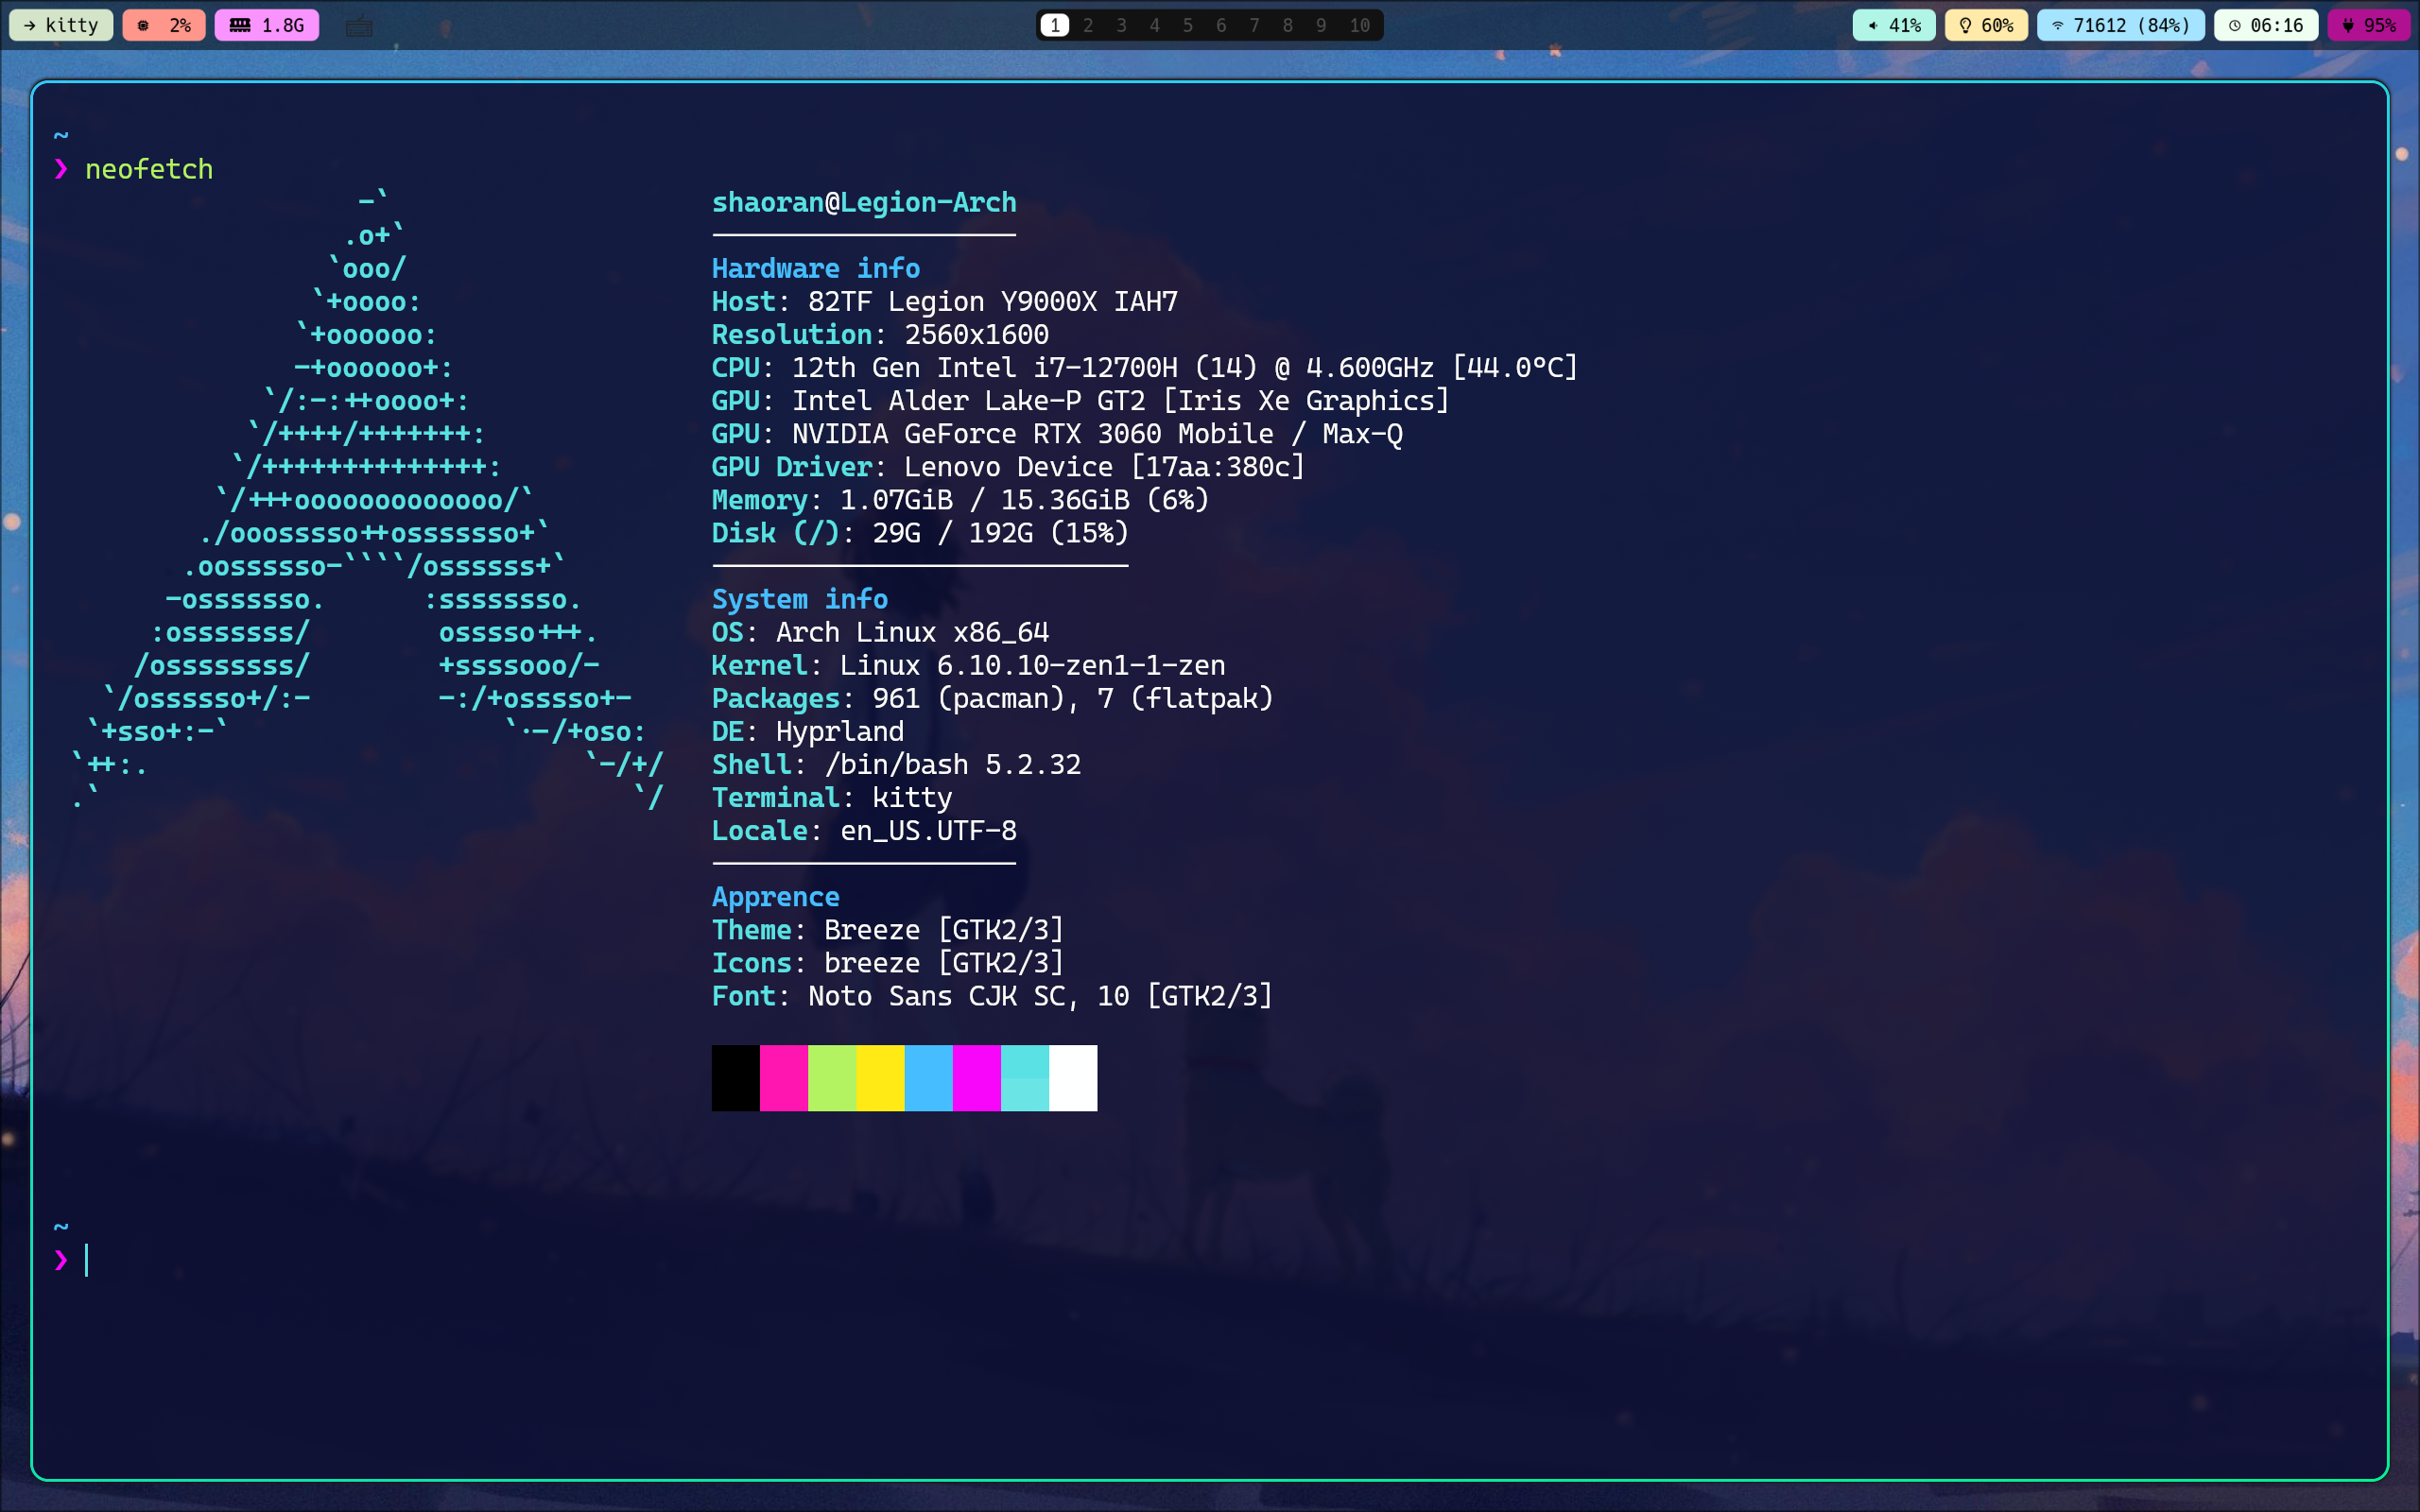
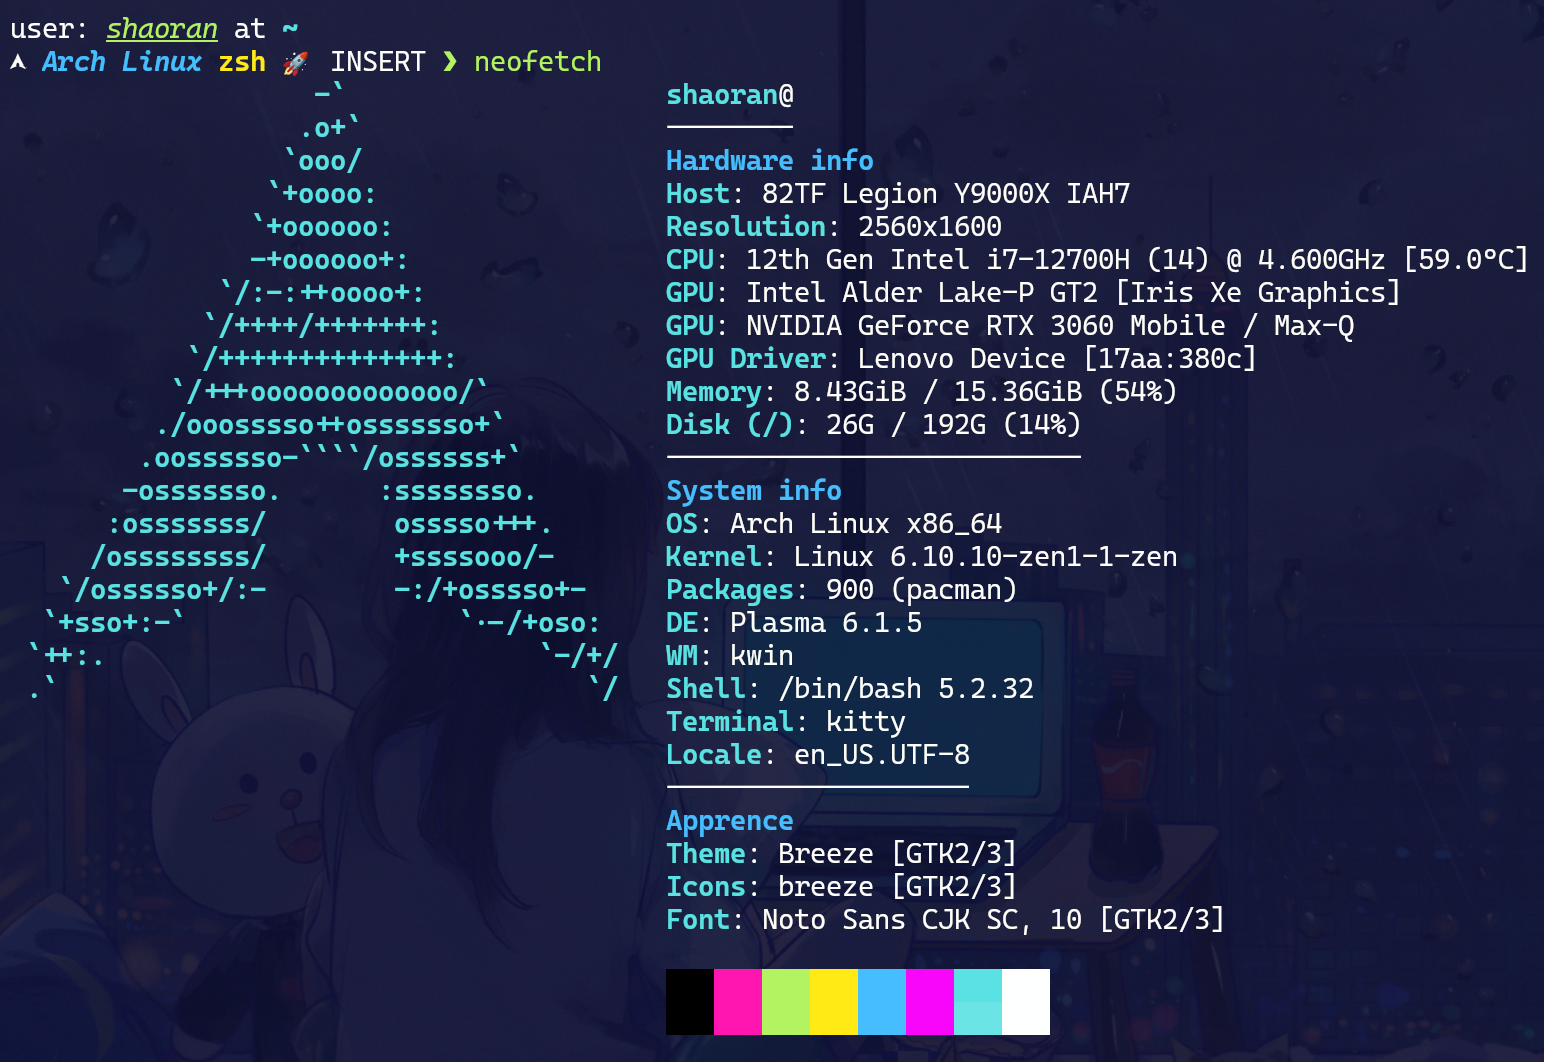
最终效果